
Hello everybody!
Today, on our blog, we’ll be covering how to engrave on a pen with a step by step tutorial. To demonstrate the same, we have Disha Lohiya, a calligraphy and engraving artist from Chhatarpur, Madhya Pradesh. You can find her on social media under the username @the_crazy_craft_lover.
Engraved pens are some of the most popular and cherished gifts among teenagers and corporate professionals. Join me as I walk you through the fascinating process of pen engraving, where I elevate the art of gifting without breaking the bank!
My Go-To Supplies
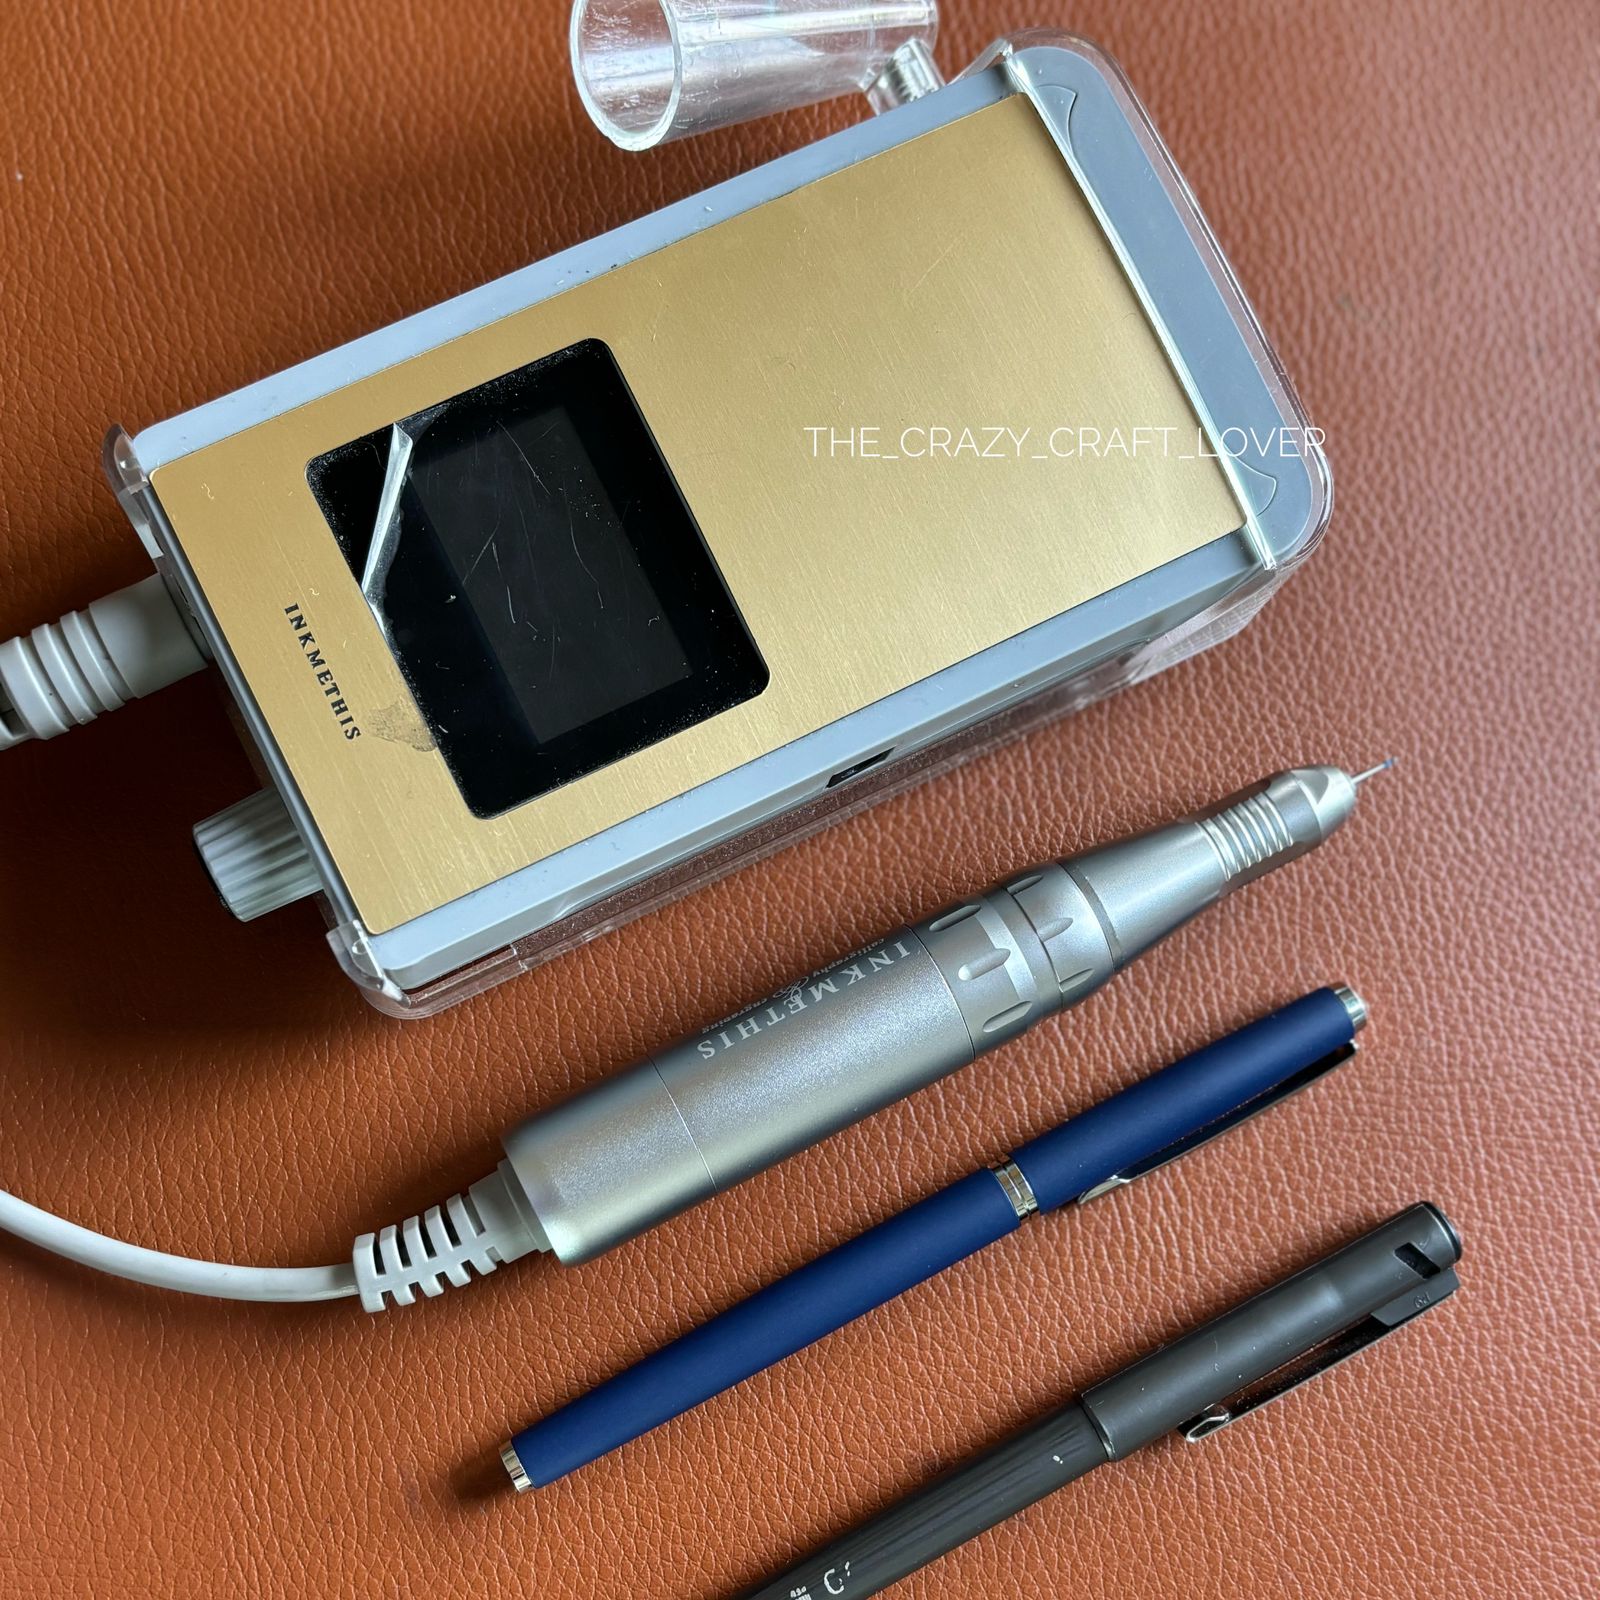
– An Engraver (I love my Ink Me This Engraver)
– A Metal Pen (not a plastic-bodied pen)
– A CD Marker (optional)
The Engraving Journey:
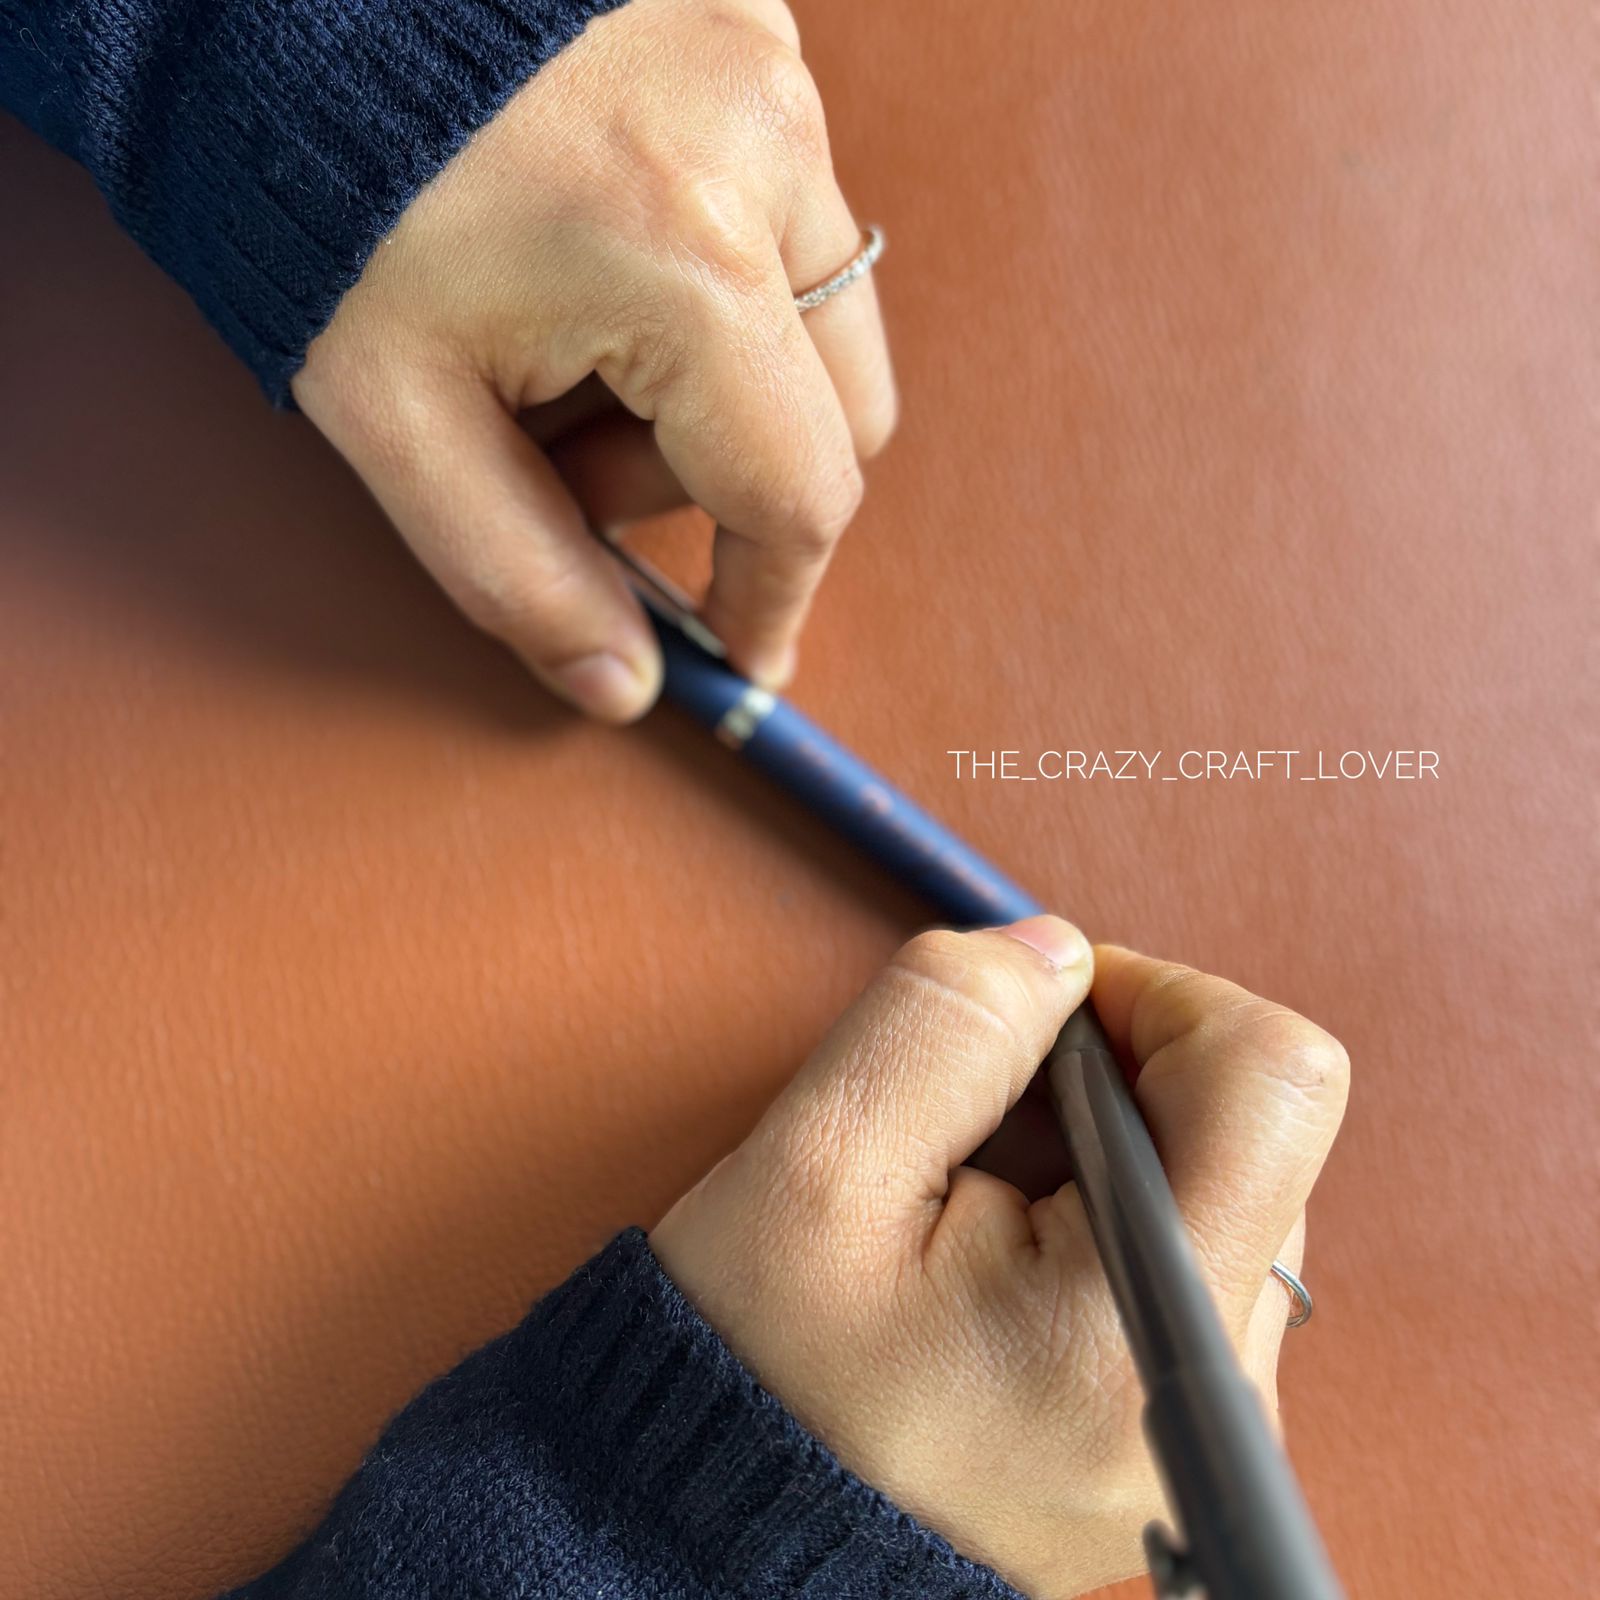
I kick things off by sketching the name I’m going to engrave on the pen with a CD Marker. This helps me envision the final product perfectly. During busy events, I sometimes skip this part, but in my cozy studio, I cherish taking my time to ensure every detail is spot on.
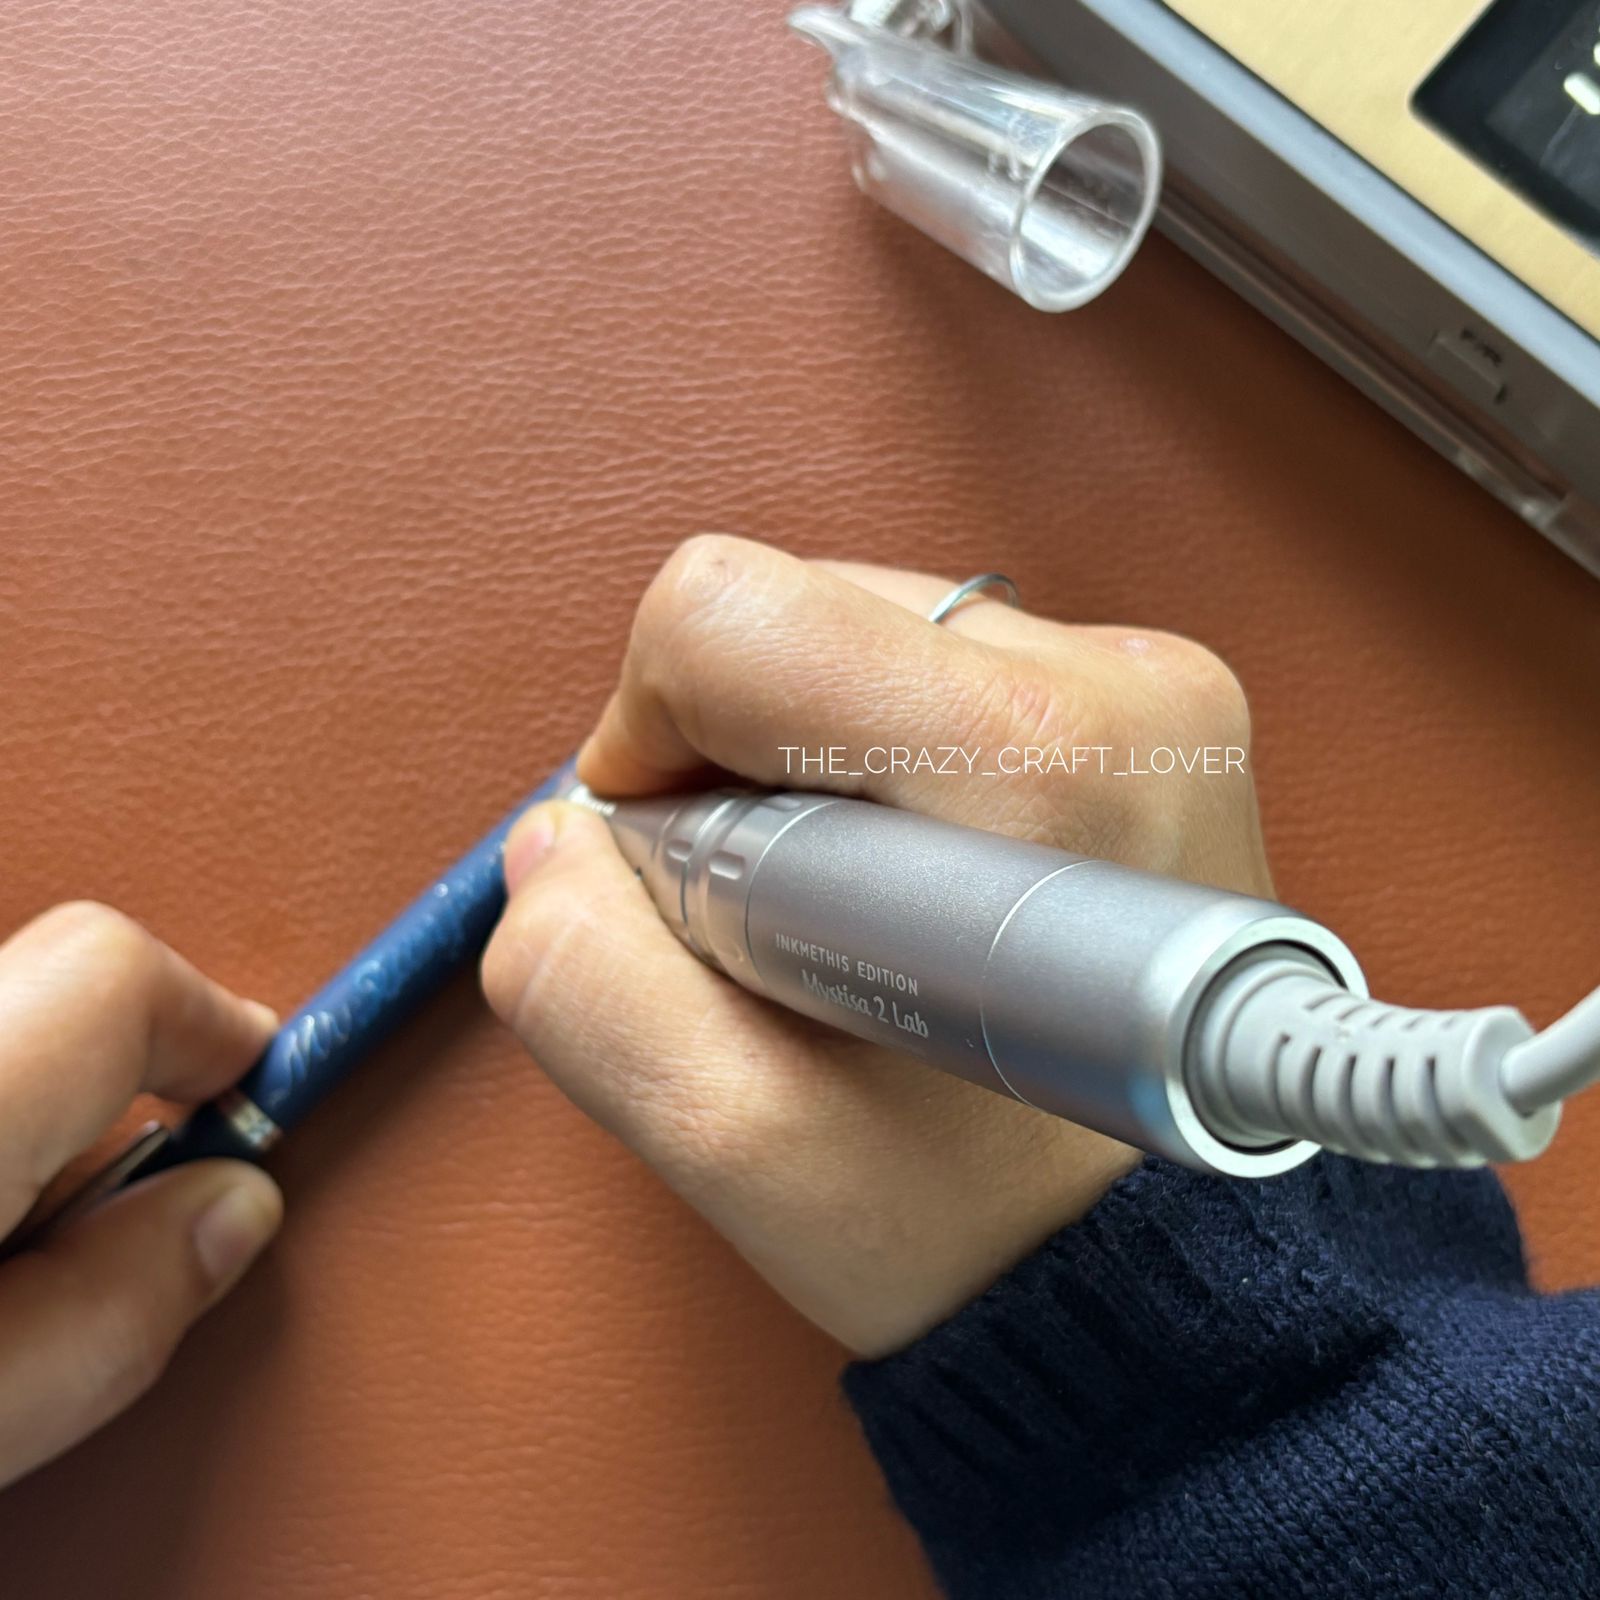
Next, I dive into the engraving! I start with the tiniest bur tips, like BR46 or BR49, to create a clean and precise look. A little tip: I constantly rub away the powder coating while engraving to keep the letters crystal clear. I prefer to start at a low RPM of 4,000 to 5,000 and then ramp it up to between 8,000 and 9,000 as I get into the groove of working in the small space.
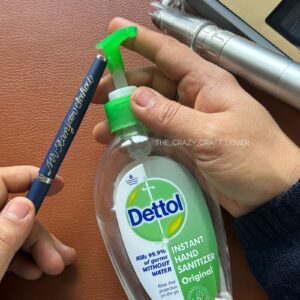 Once the engraving is complete, I give the pen a thorough cleaning with a cloth soaked in spirits from isopropyl alcohol or ethanol. I like to take a sustainable route, often using expired hand sanitizer for this step! After cleaning, I’ll engrave once more to ensure everything looks polished and refined.
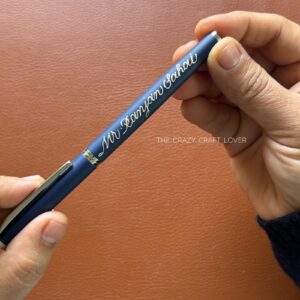
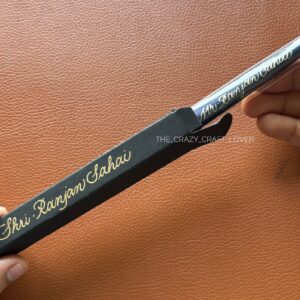
One of the best parts about pen engraving? No additional color is necessary! As I finish up, the removal of the powder coating unveils the stunning metal beneath.
Finally, I package the pens in custom-made boxes to ensure they’re not just ready to gift, but are a delight to behold!
We hope this tutorial gives you a glimpse into the magical world of engraving! We’d love to see your creations too, so don’t forget to share them with us on Instagram. Last but not the least, thank you so much for sharing such and informative tutorial with all of us!
Happy Engraving!